
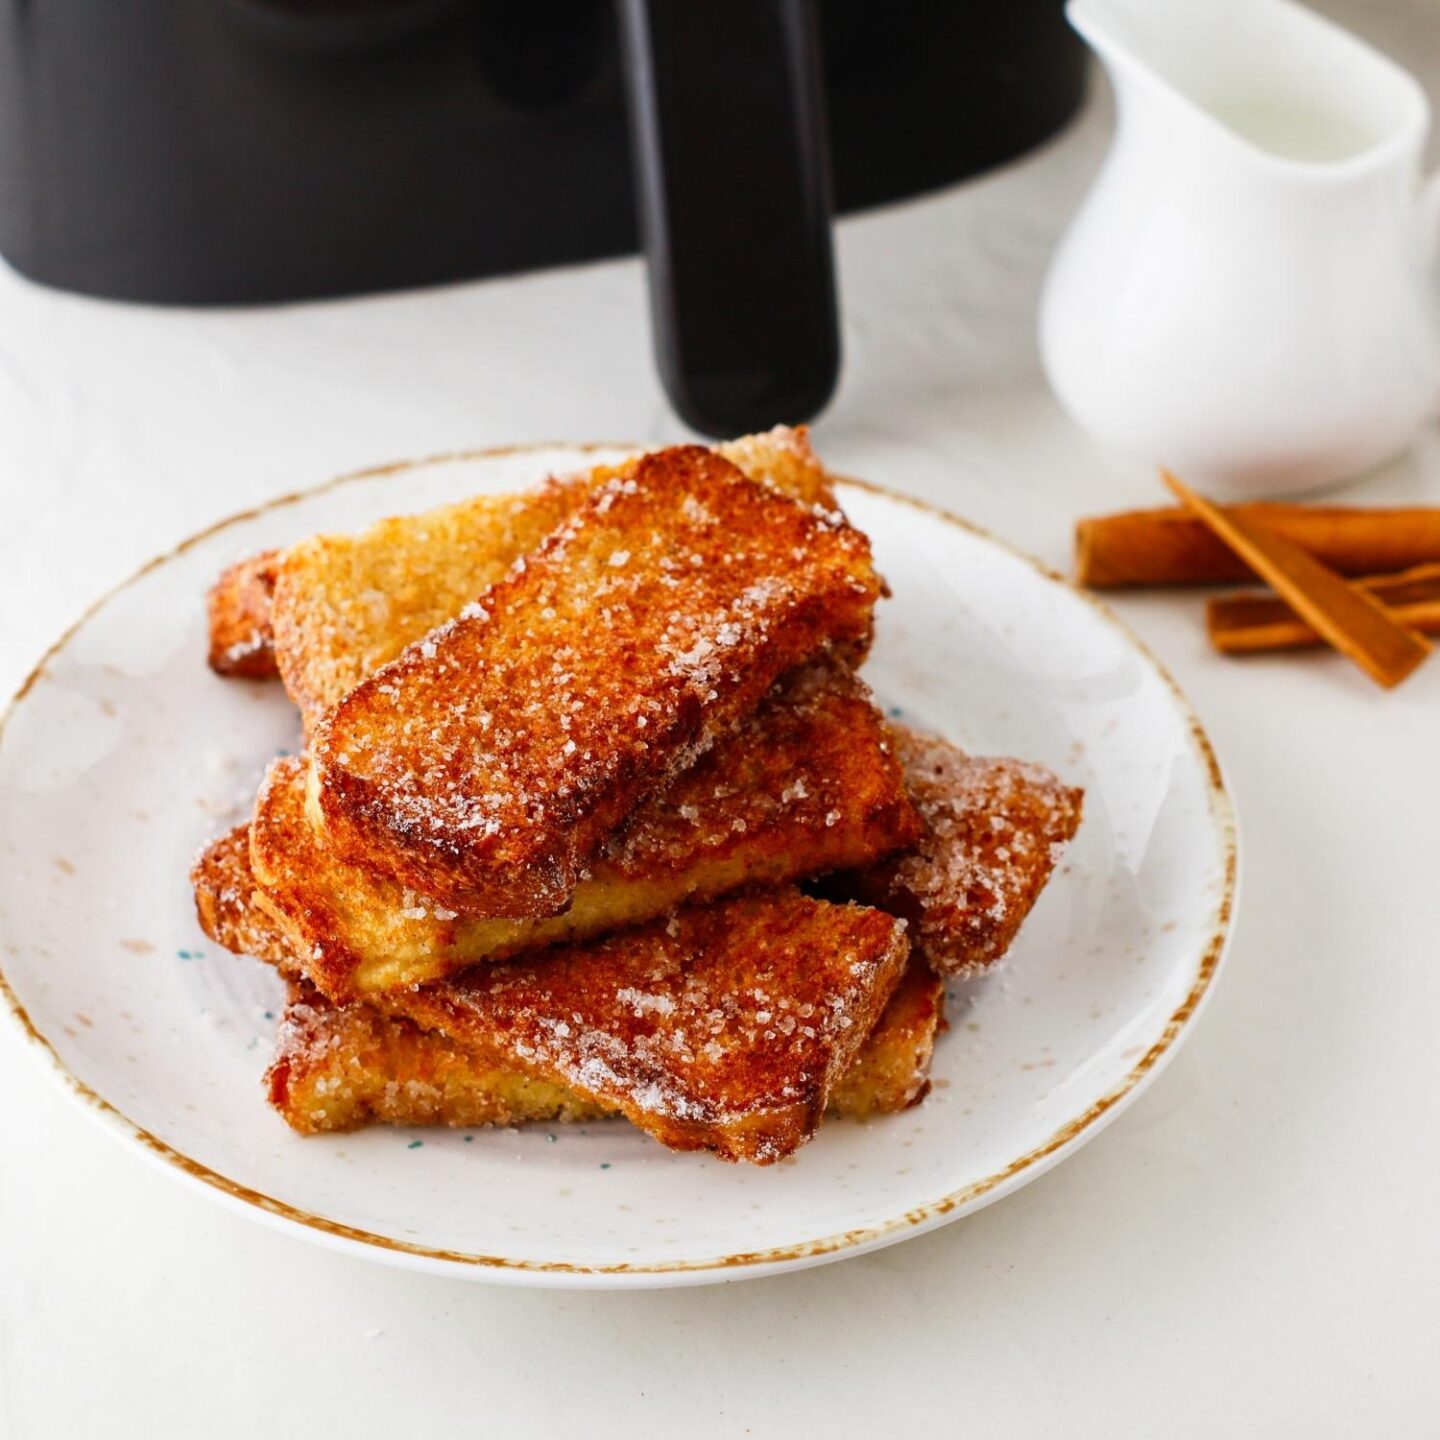
Air Fryer French Toast Sticks
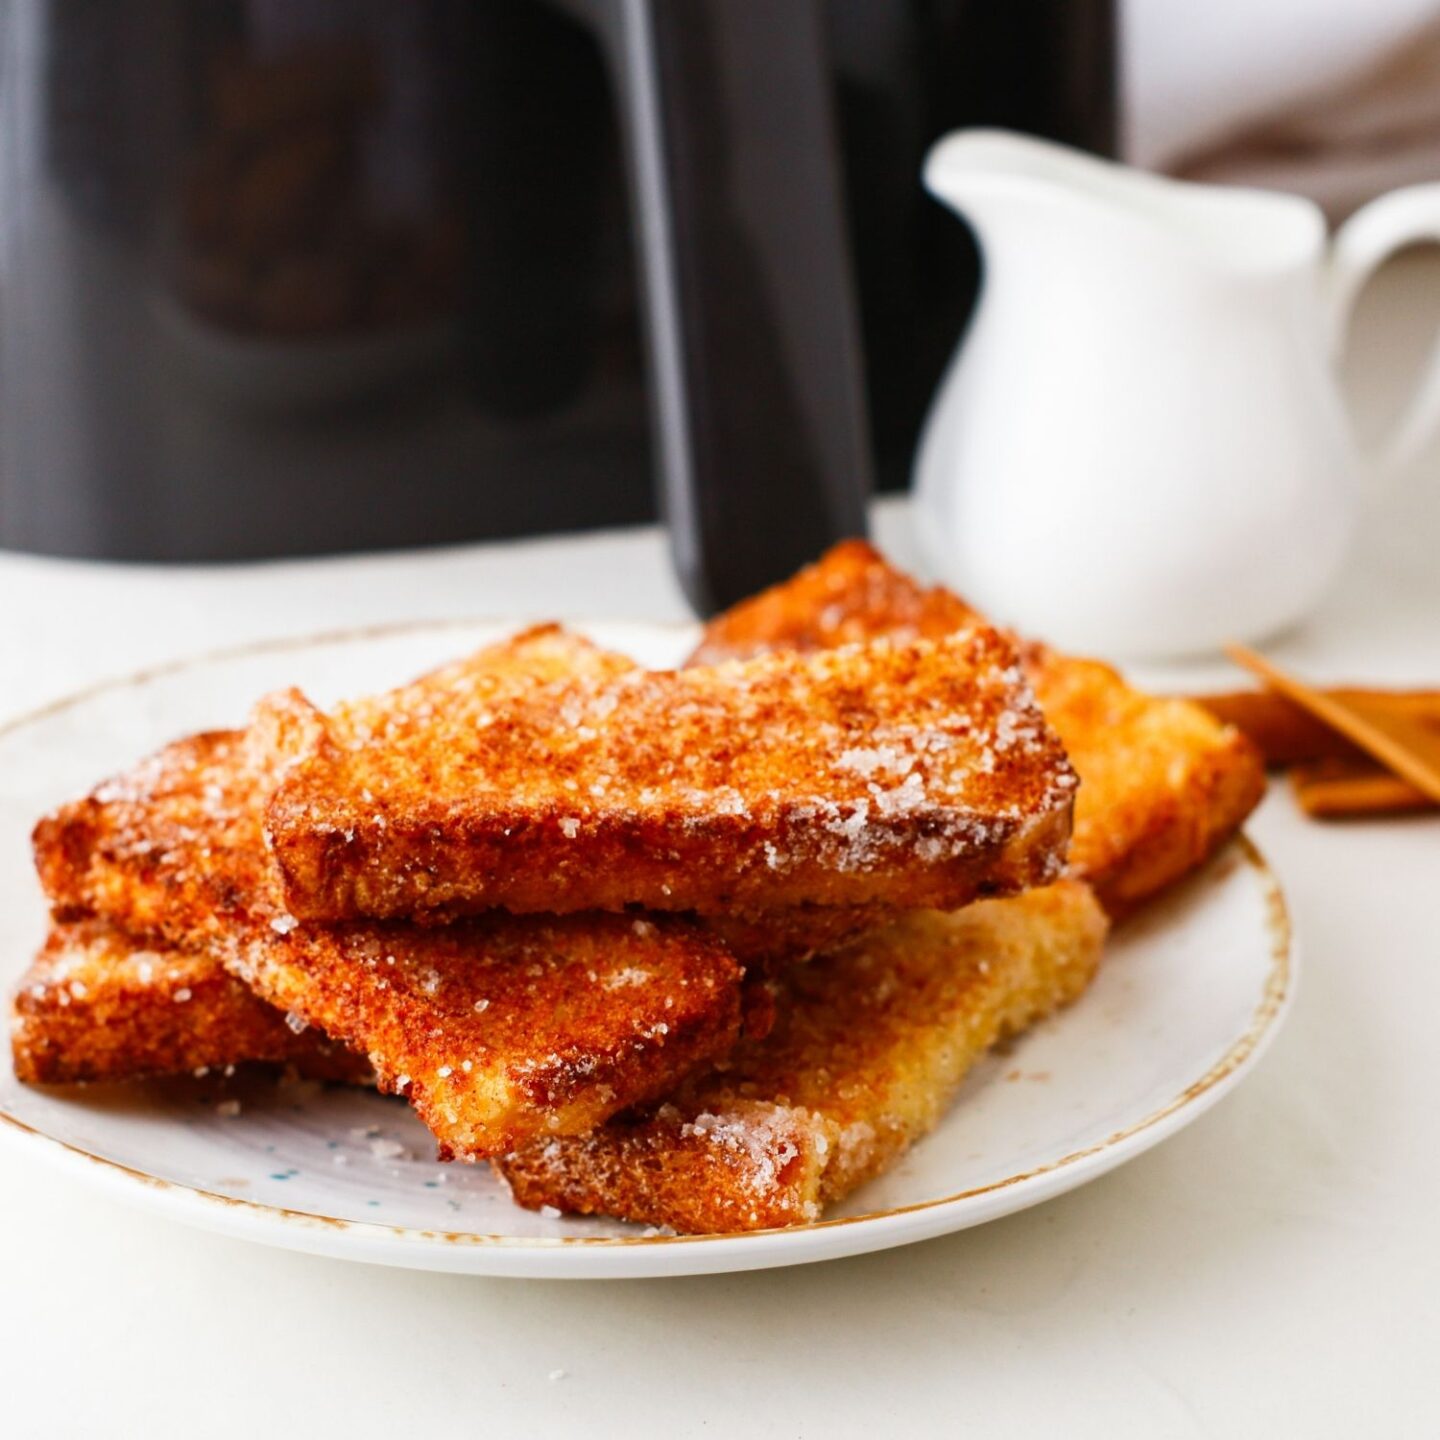
Weekend breakfast just got a serious upgrade. These air fryer French toast sticks are crisp on the outside, fluffy on the inside, and come together with minimal fuss. They feel indulgent but couldn’t be easier to make—just a few pantry staples and your air fryer. The simple homemade cinnamon sugar is ridiculously moreish, and there’s clean plates all round in my household whenever I serve these up!
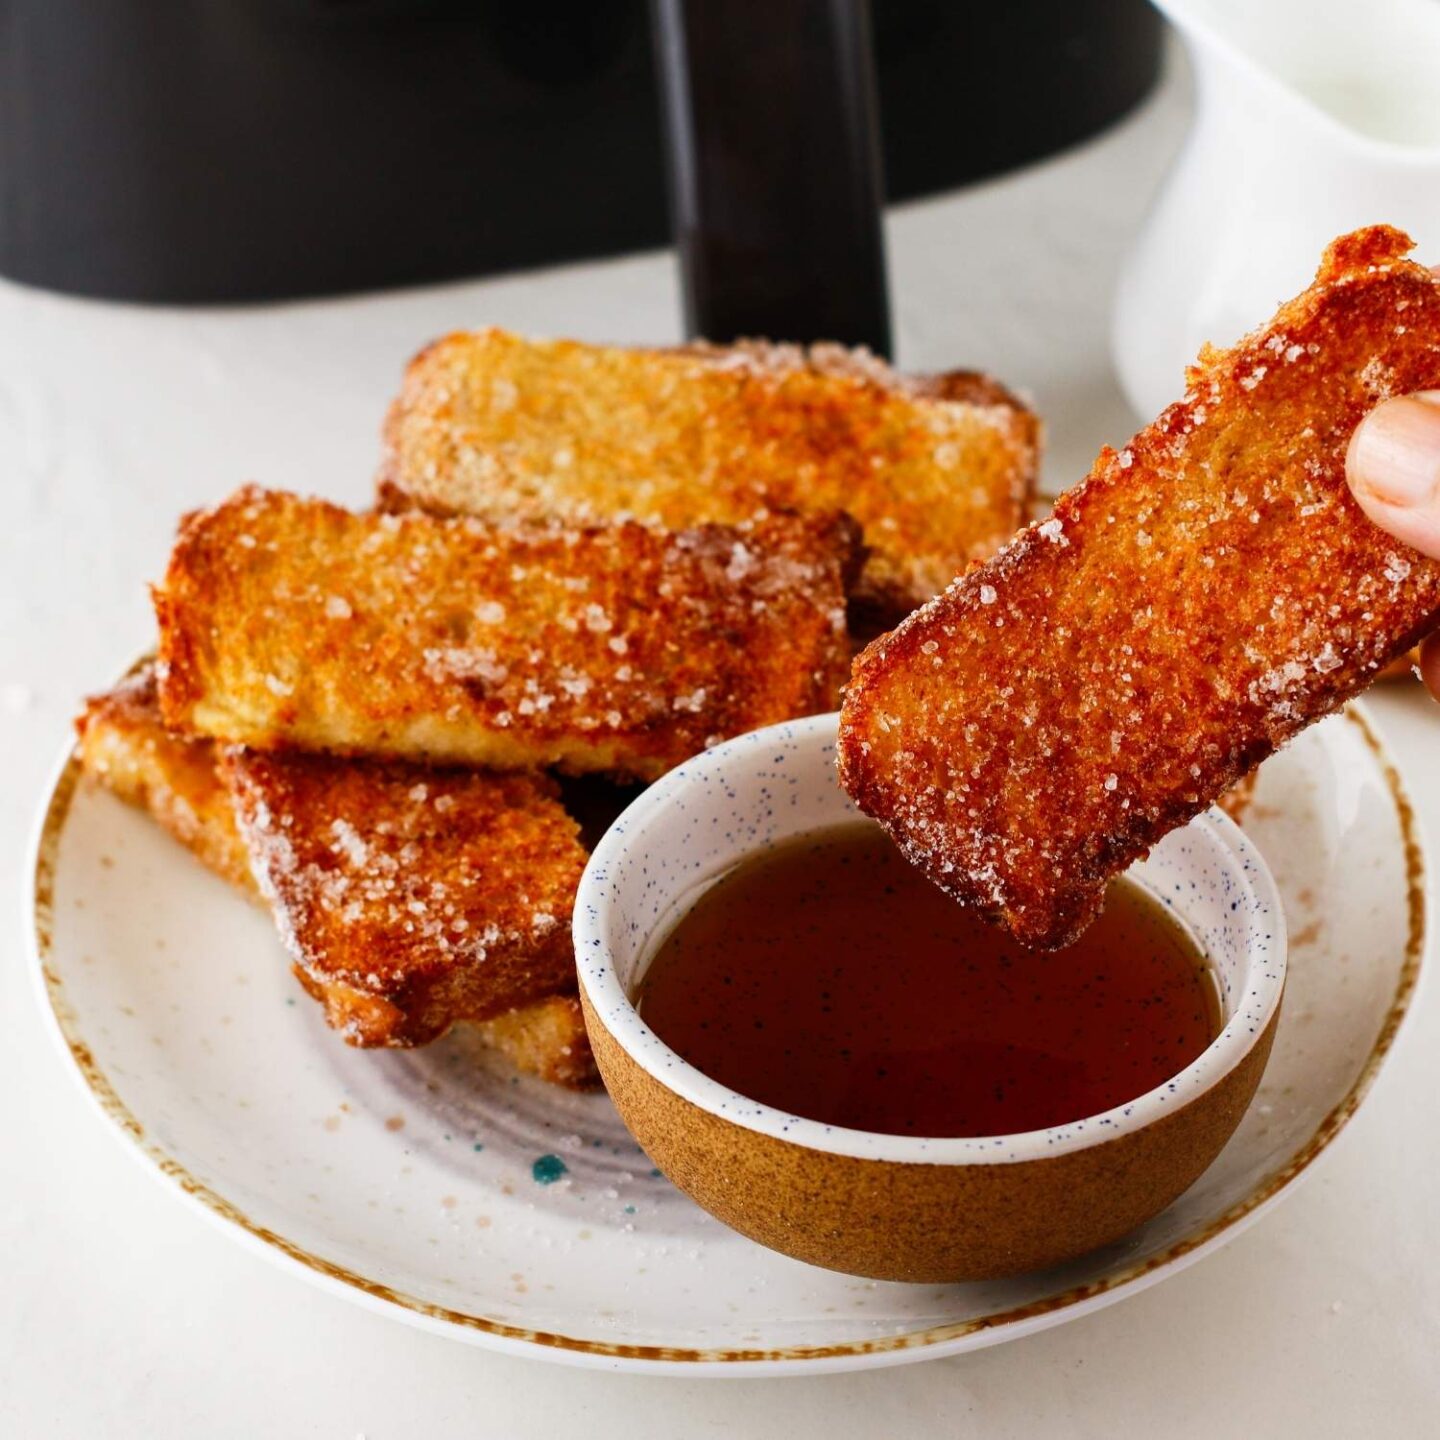
Serve them with syrup, add fruit and yogurt for a more balanced bite, or go all-out with a full brunch spread—bacon, eggs, the works. However you plate them, they’re fast, satisfying, and a great excuse to keep that air fryer in rotation. Let’s make them together!
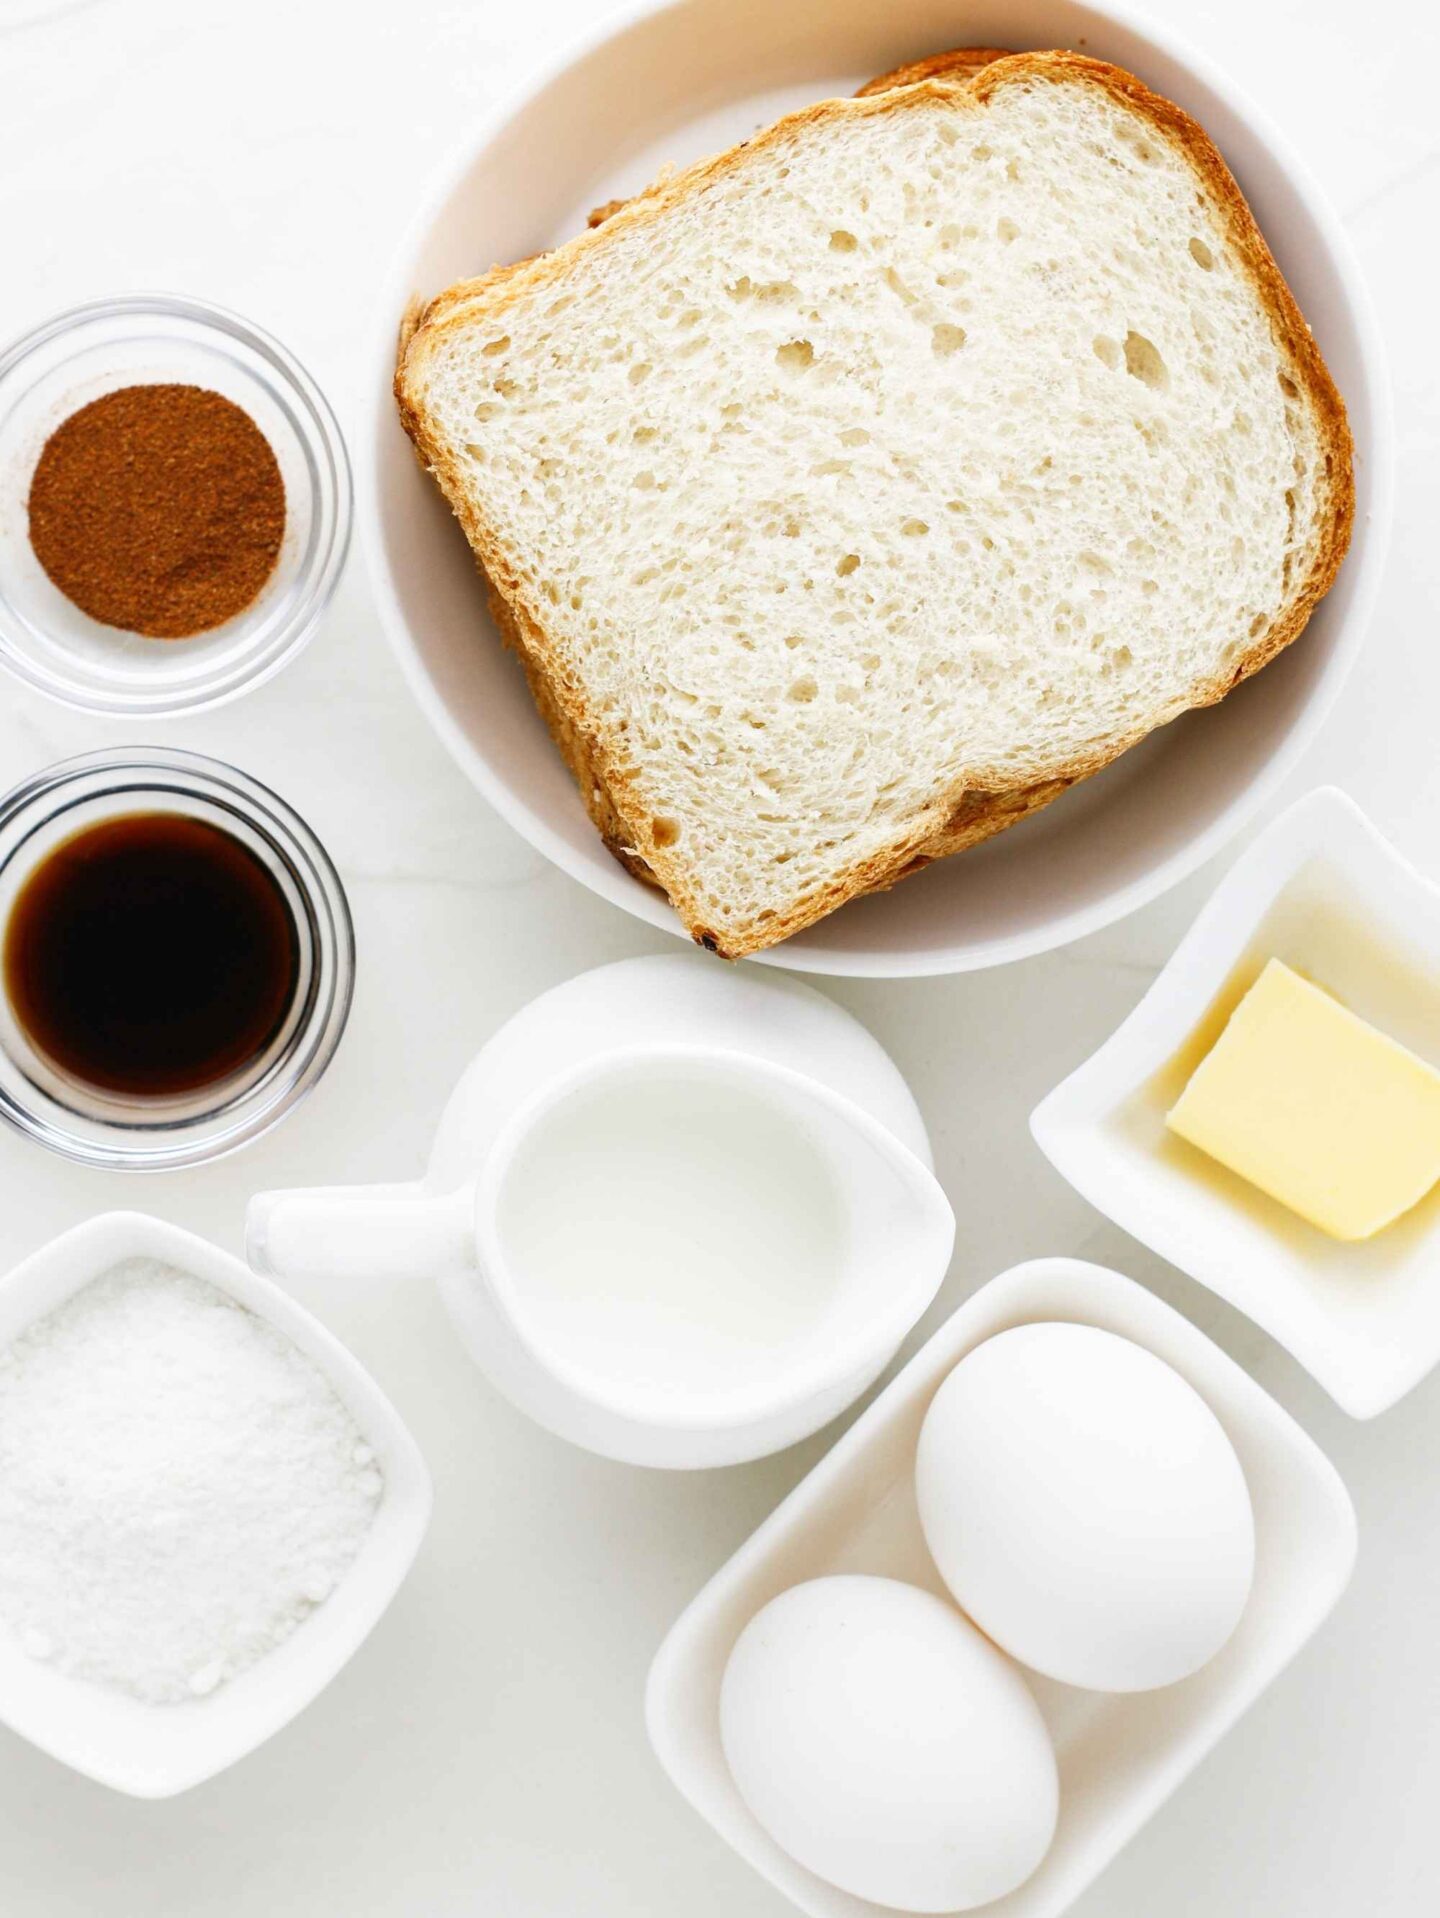
Ingredients
- Bread
- Milk
- Eggs
- Salt
- Butter
- Vanilla extract
- Granulated sugar
- Cinnamon
- Maple syrup (optional)
How To Make Air Fryer French Toast Sticks: Step-by-Step Instructions
Want to jump straight to the recipe? There’s a printable recipe card waiting for you at the bottom of this post. But if you prefer to follow along with step-by-step photos, keep scrolling—I’ve broken it down below to show you exactly how it’s done!
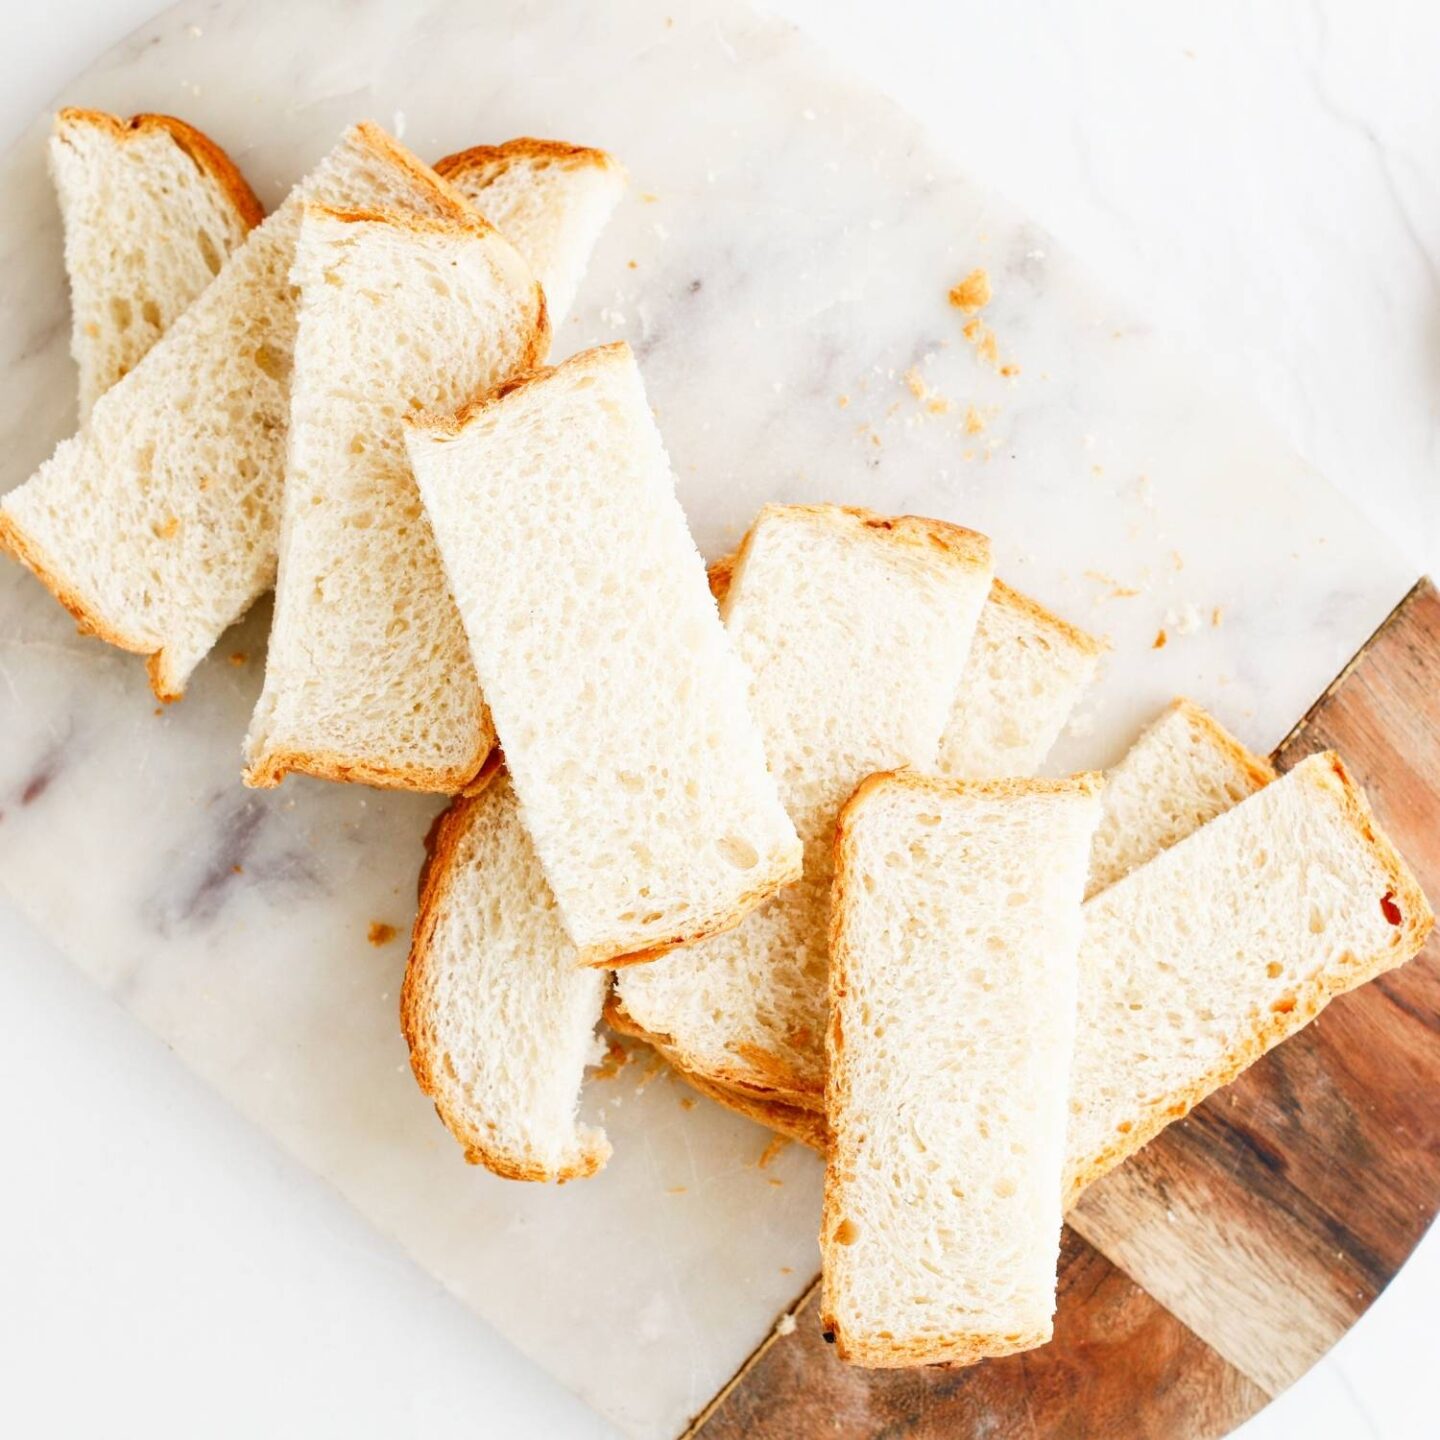
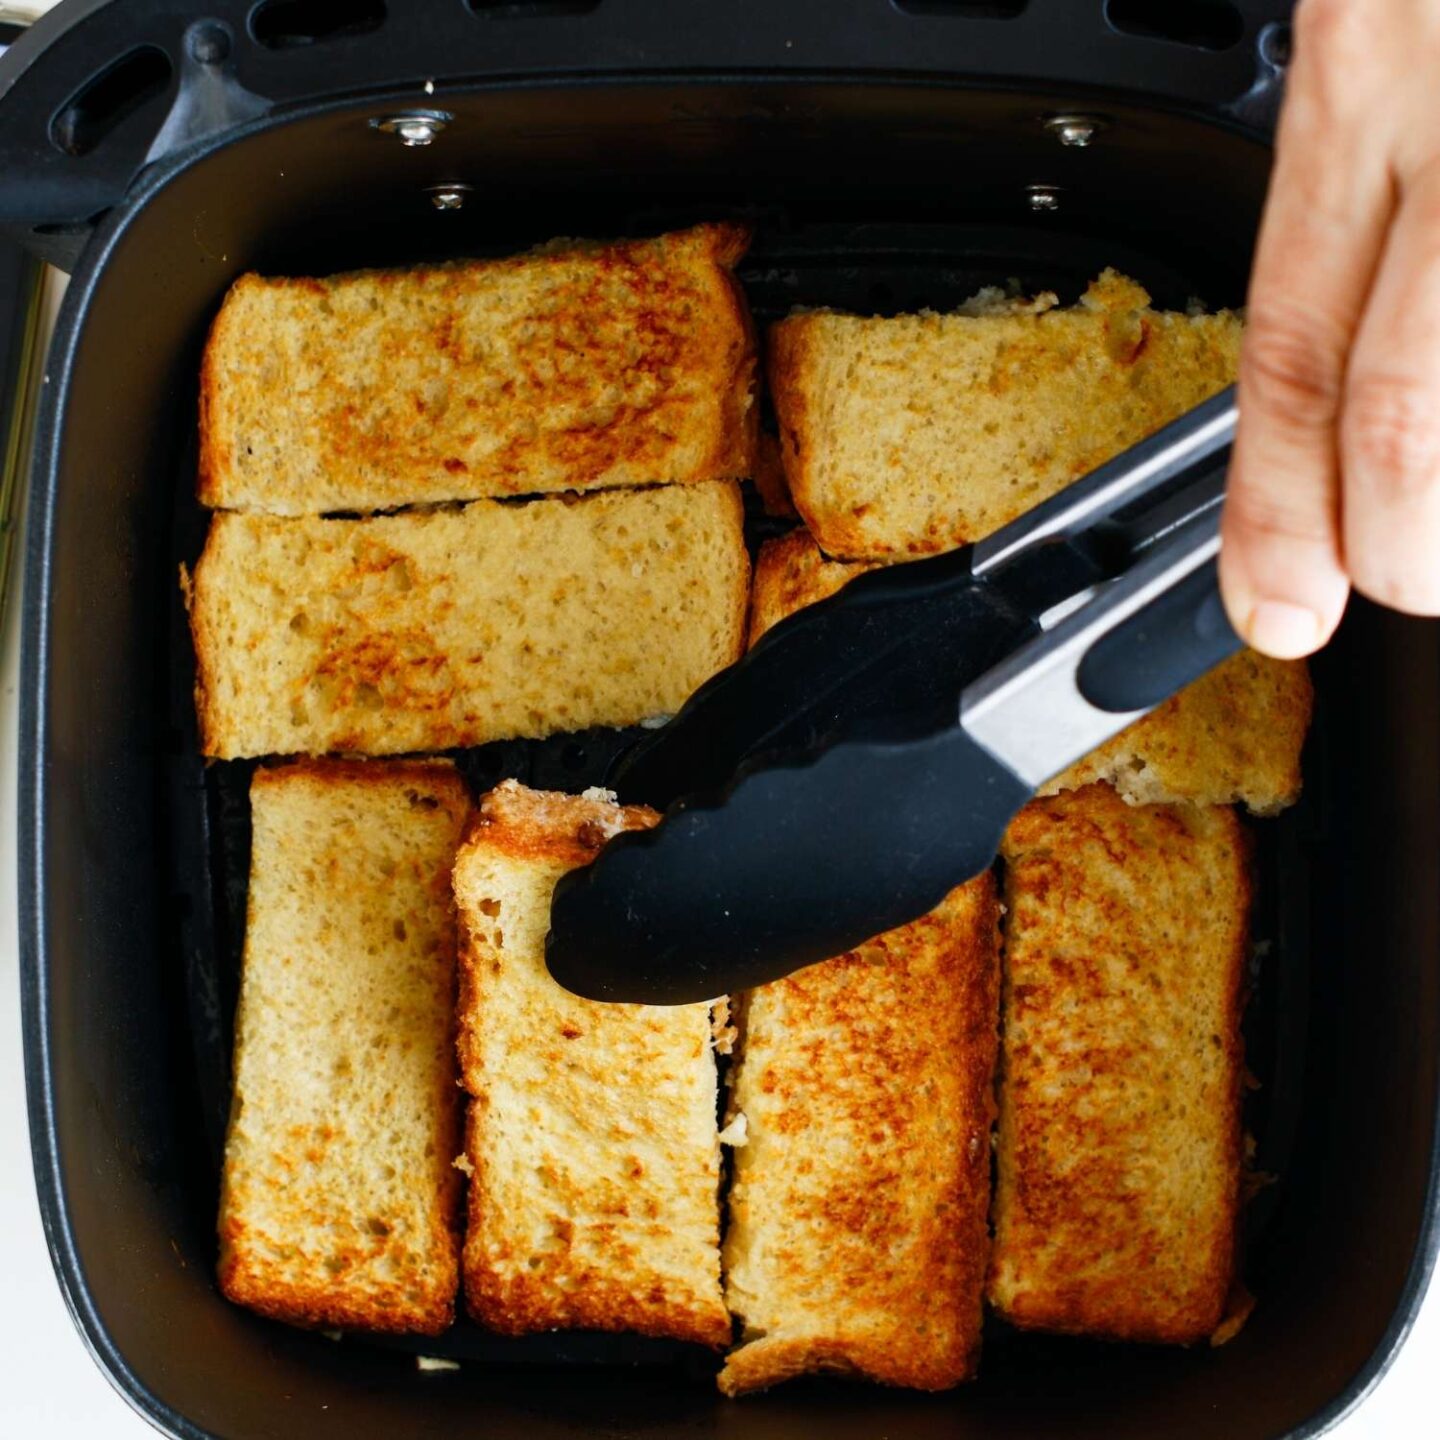
- Preheat your air fryer to 350°F/175°C if your model calls for it. While that’s heating, slice the bread into sticks and set them aside.
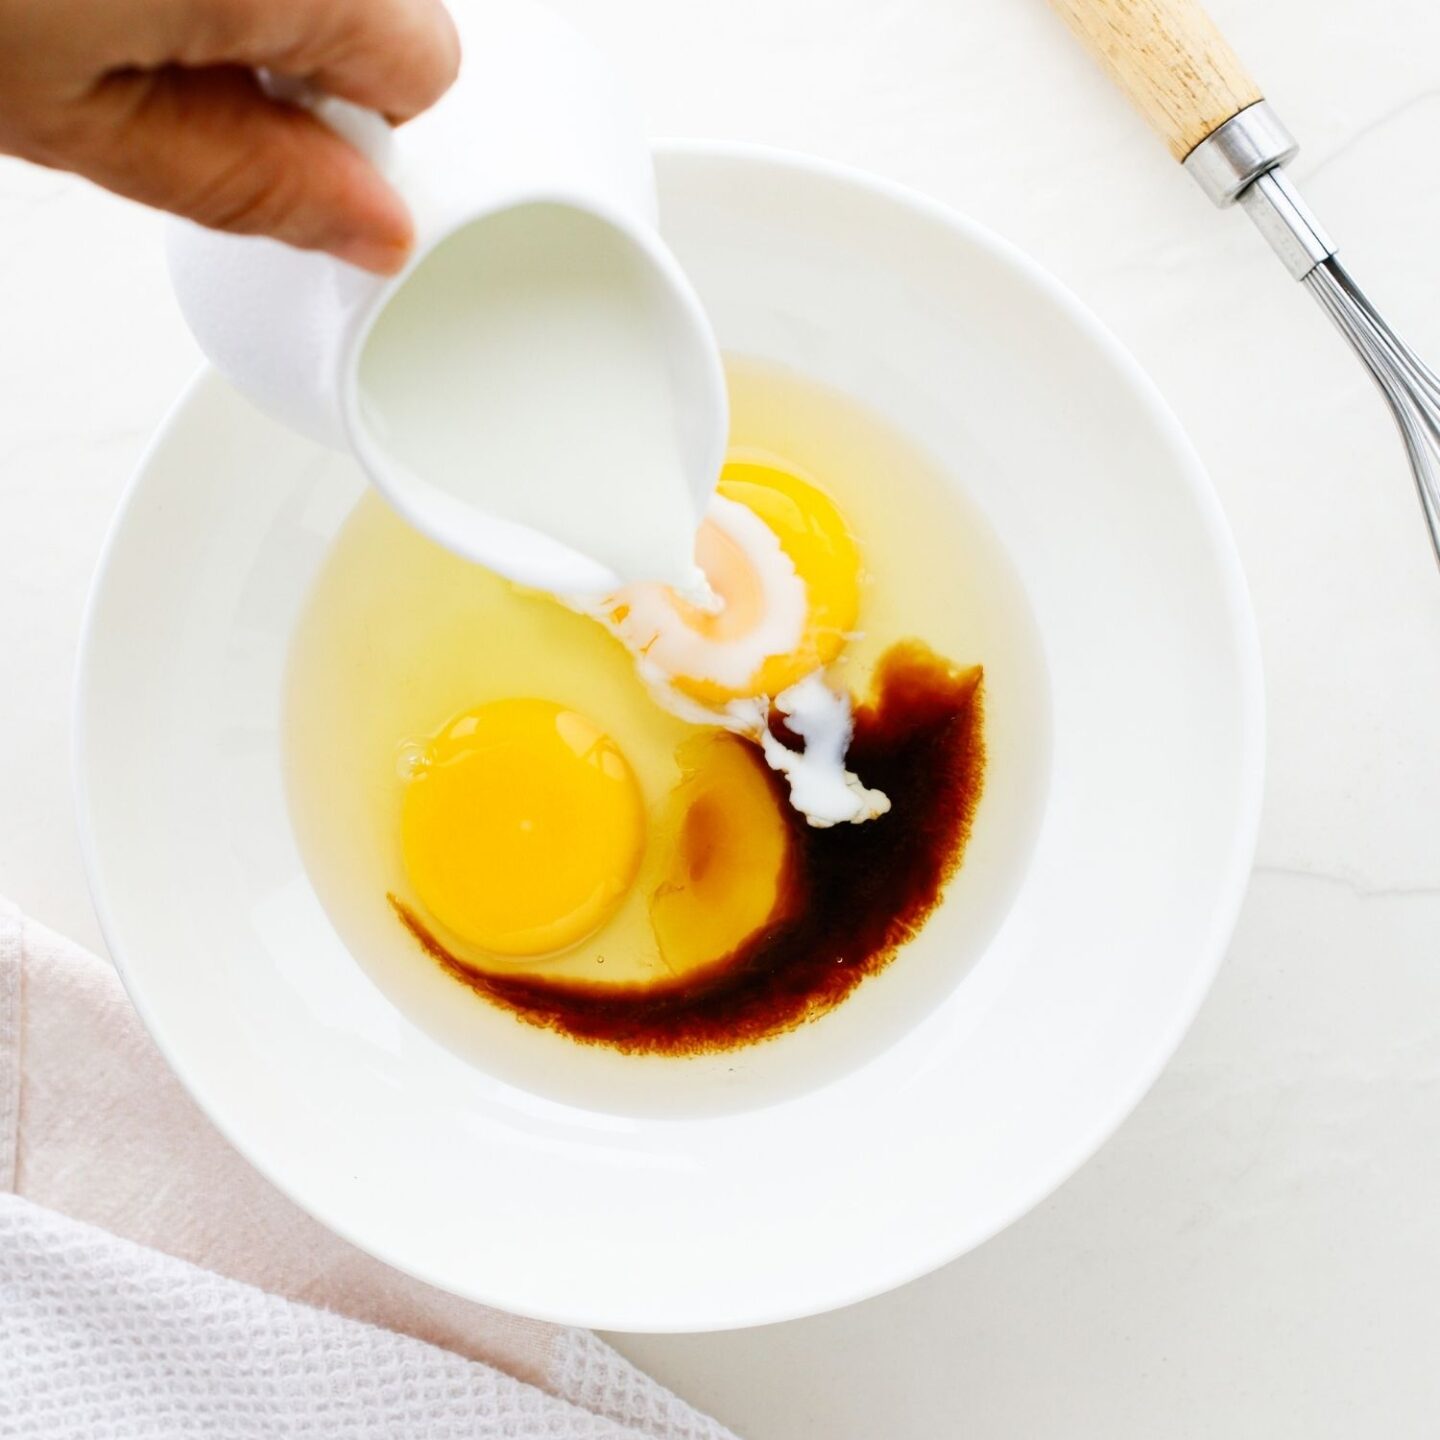
- In a bowl, whisk together the milk, eggs, vanilla, and a pinch of salt until smooth. In a separate shallow bowl, stir together the cinnamon and sugar.
- Lightly grease the air fryer basket with butter or cooking spray. Dip each breadstick into the egg mixture, letting the excess drip off.
- Arrange the sticks in the basket in a single layer. Air fry at 350°F/175°C for 8–10 minutes, flipping halfway through, until they’re golden and crisp on the outside.
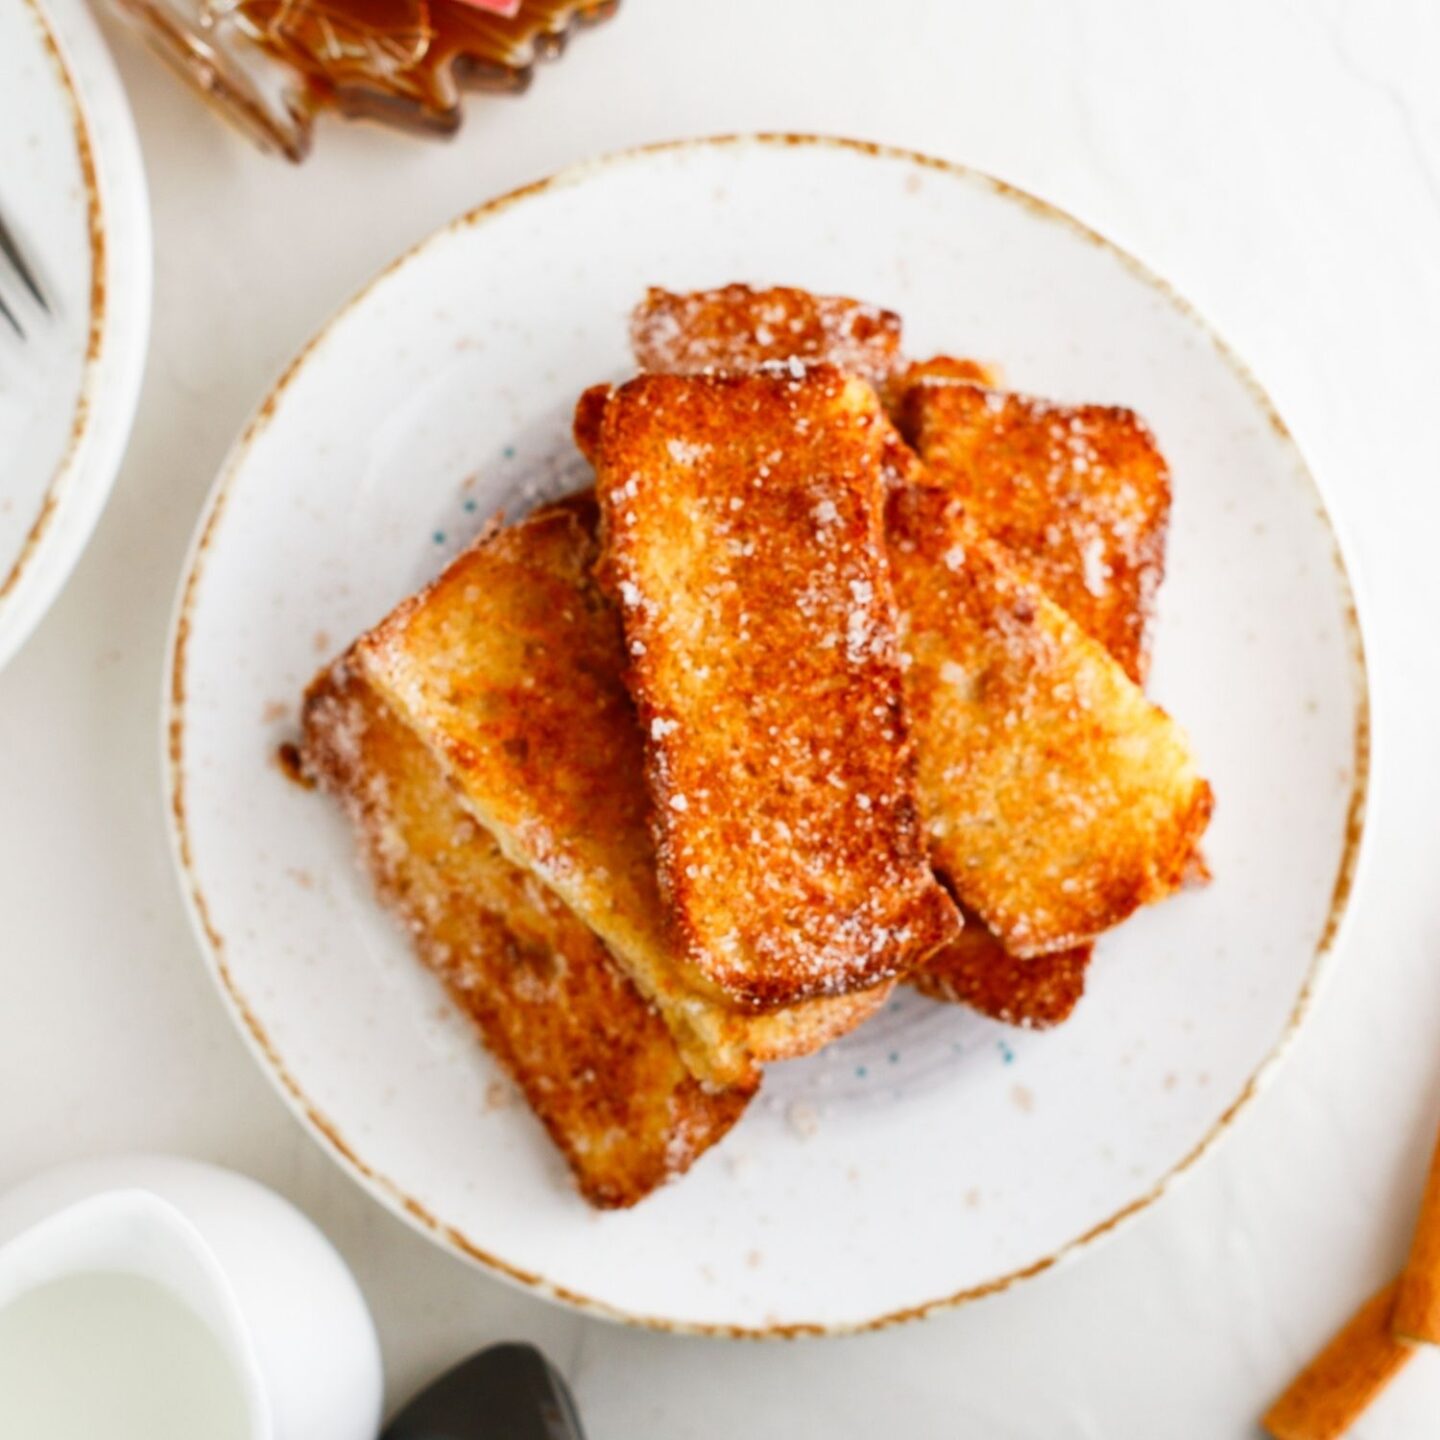
- As soon as they come out, sprinkle them with the cinnamon sugar so it sticks to the warm toast. Serve with maple syrup or your favorite dip—and enjoy!
Tips for the Best Air Fryer French Toast
-
Check your air fryer manual – Some models need to be preheated, others don’t. It’s worth checking so you don’t end up guessing.
-
Don’t overcrowd the basket – Give the sticks a little space so the air can circulate and crisp them up evenly.
-
Shake off excess egg – After dipping, let the extra egg mixture drip off to avoid soggy spots.
-
Serve immediately – These are best hot and fresh, right after air frying, so the outside stays crisp and the inside stays fluffy.
-
Make-ahead tip – You can prep and freeze the dipped (but uncooked) sticks on a tray, then air fry straight from frozen when you need a quick breakfast.
Serving Ideas
-
Classic with syrup – You can’t go wrong with warm maple syrup for dipping. It’s simple and always hits the spot.
-
Add some fruit – Serve with fresh berries, sliced banana, or even a handful of frozen fruit that’s been thawed for a little natural sweetness.
-
Yogurt on the side – A scoop of Greek yogurt makes it feel like a balanced breakfast (and adds some protein too).
-
Make it a brunch board – Pair with bacon, scrambled eggs, and fruit for an easy, build-your-own brunch setup.

Air Fryer French Toast Sticks
Ingredients
- 4 slices bread
- ⅓ cup milk
- 2 large eggs
- ¼ teaspoon salt
- 1 teaspoon butter
- 1 teaspoon vanilla extract
- ⅓ cup granulated sugar
- 1 teaspoon cinnamon
- Maple syrup optional
Instructions
- Preheat your air fryer to 350°F/175°C if your model calls for it. While that’s heating, slice the bread into sticks and set them aside.
- In a bowl, whisk together the milk, eggs, vanilla, and a pinch of salt until smooth. In a separate shallow bowl, stir together the cinnamon and sugar.
- Lightly grease the air fryer basket with butter or cooking spray. Dip each breadstick into the egg mixture, letting the excess drip off.
- Arrange the sticks in the basket in a single layer. Air fry at 350°F/175°C for 8–10 minutes, flipping halfway through, until they’re golden and crisp on the outside.
- As soon as they come out, sprinkle them with the cinnamon sugar so it sticks to the warm toast. Serve with maple syrup or your favorite dip—and enjoy!
A super easy breakfast to make in your air fryer that feels like a real treat! Have you tried this recipe? If so, I’d really appreciate it if you could take a minute to leave a review in the comments section below. Your feedback means the world to me, and it also helps me to create more ideas that you’ll enjoy recreating in your own kitchen!