
Italian Sub Sliders
With football season upon us and a hungry family at home, I thought what better way to celebrate than with a tray of super easy Italian sub sliders! I’ll be serving these up right through the holidays whenever I have guests landing and I need something fuss-free, and they’re just wonderful served as an appetizer or as part of a buffet style set-up with all your favorite finger foods and bites.
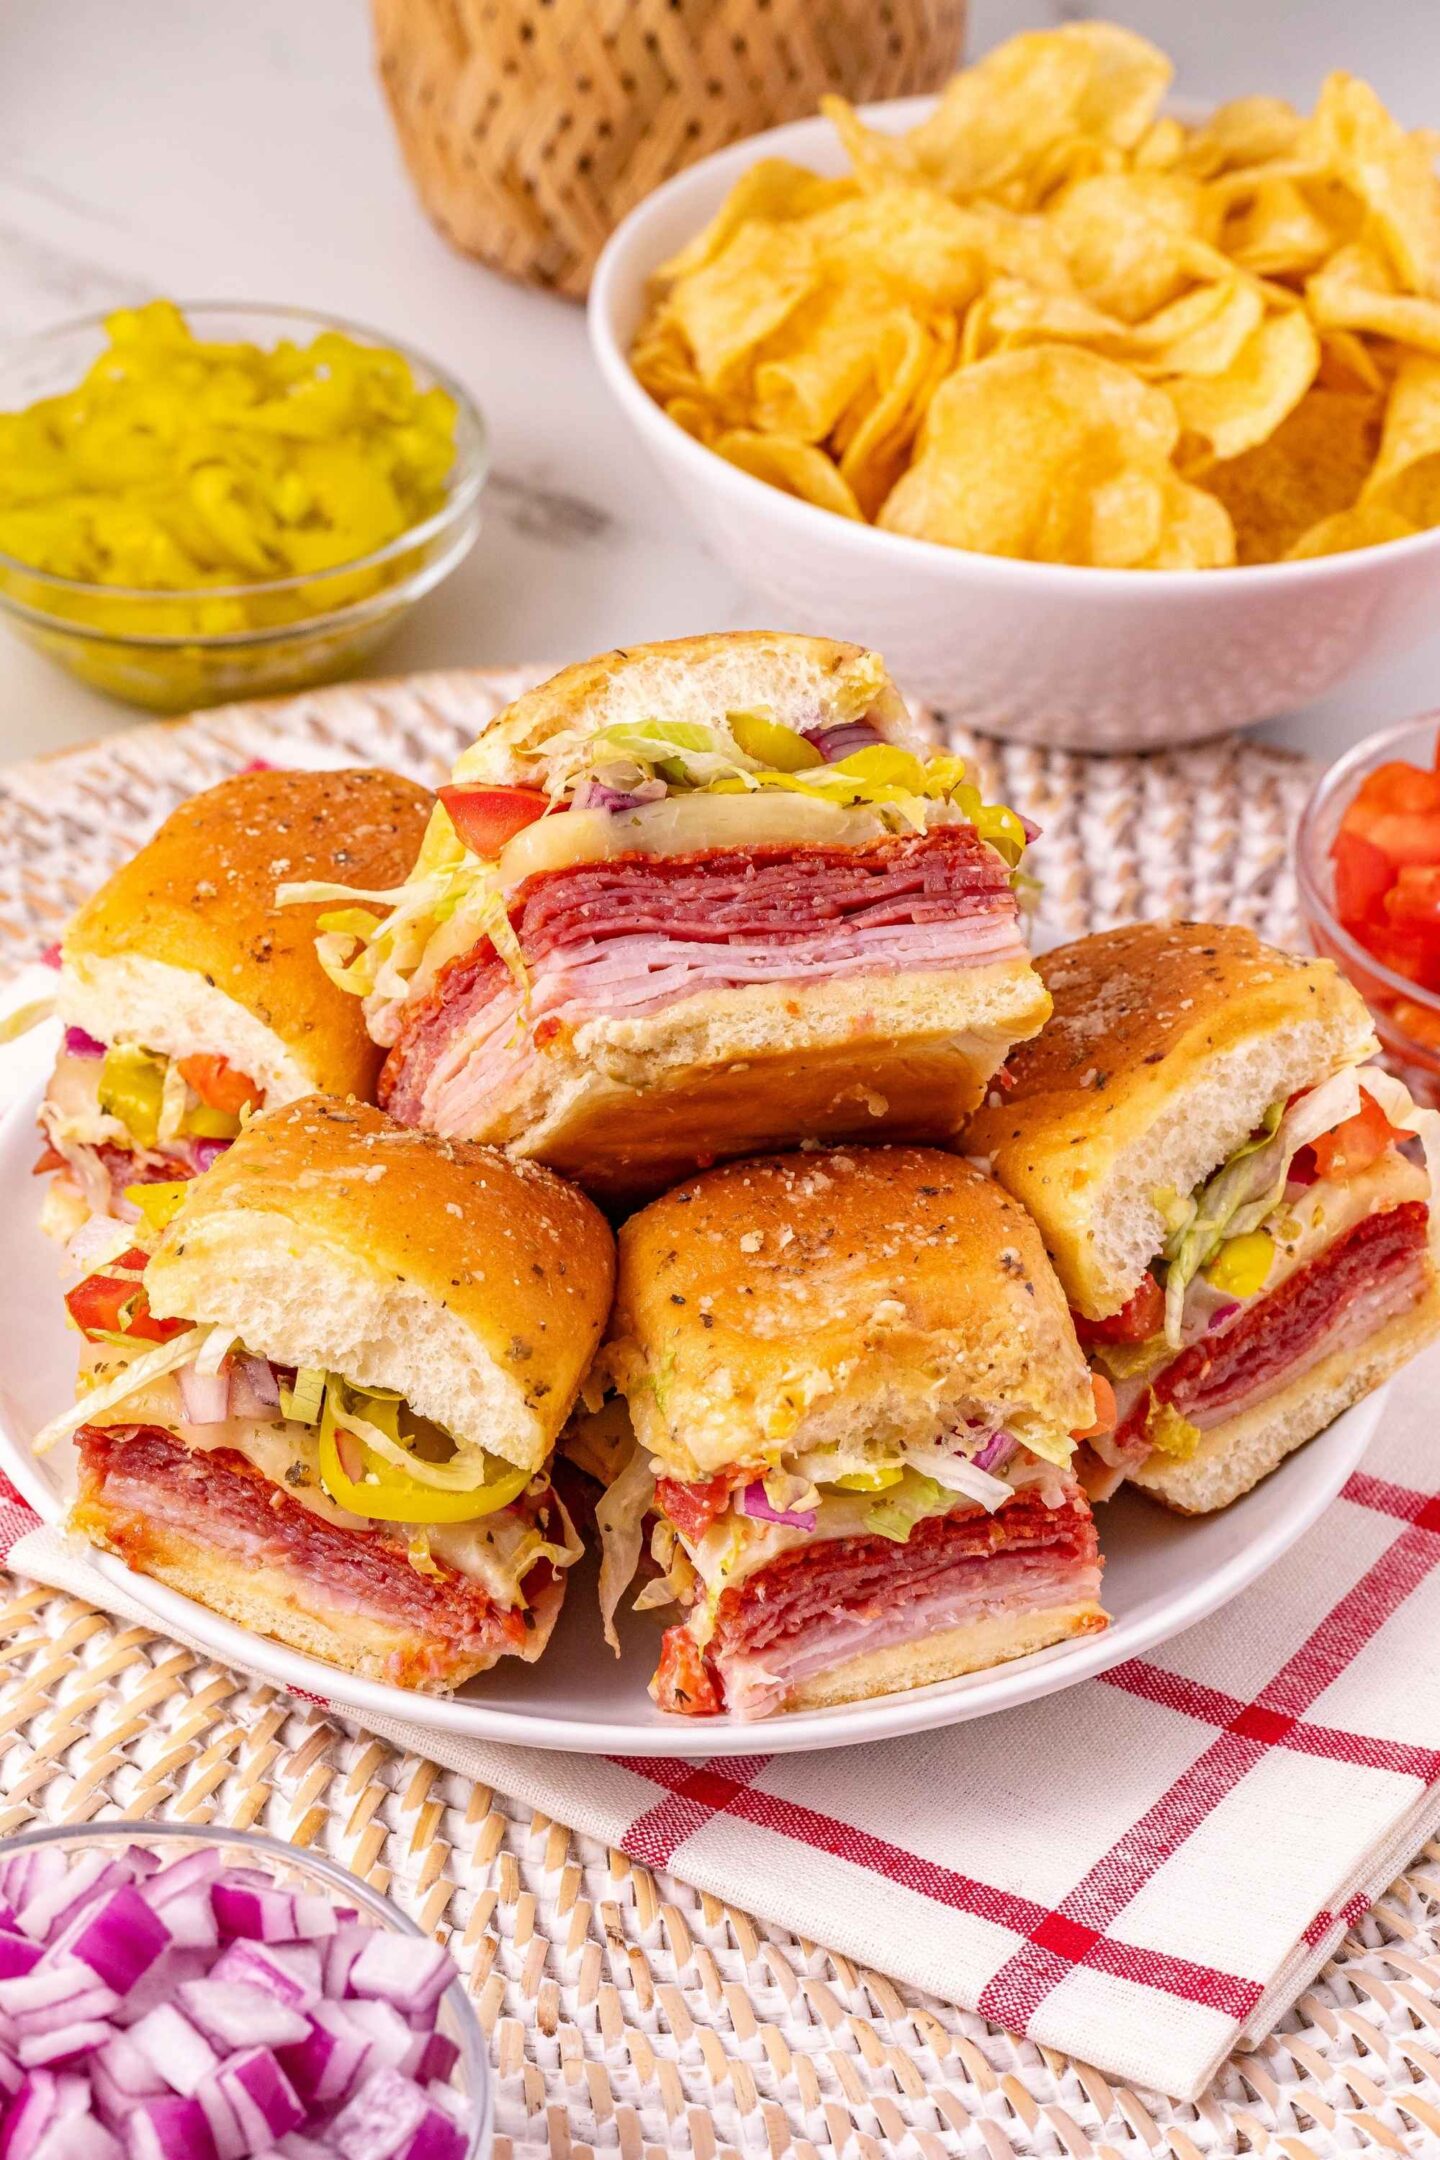
They’re made with layers of ham, salami, and pepperoni, topped with provolone, tomatoes, onions, and pepperoncini, then brushed with a buttery Dijon glaze and baked until golden. Add the shredded lettuce at the end for that fresh crunch, and you’ve got the ultimate crowd-pleasing slider.
Why you’ll love this recipe:
-
Feeds a crowd with zero stress — no slicing or assembling at the table.
-
That buttery, toasted top is impossible to resist.
-
You can mix and match meats, cheeses, and veggies however you like (I’ve included lots of different ideas so you can make these your own)
-
Ideal for game days, parties, holiday entertaining, and even easy weeknight dinners.
-
Leftovers reheat beautifully (if you even have any).
Whilst you’re here, I think you’ll also love my buffalo chicken sliders, BBQ chicken sliders, Big Mac sliders, BLT sliders, and cranberry turkey sliders. Let me know which ones are your favorites!
Ingredients
Please note that if you prefer to grab a printable recipe card, you can scroll right on down to the bottom of this post!
-
King’s Hawaiian rolls – soft, slightly sweet, and perfect for pull-apart sliders.
-
Deli sliced ham – adds savory, balanced saltiness; any favorite style works.
-
Sliced salami – brings that classic Italian sub bite.
-
Sliced pepperoni – a little smoky heat to round out the meats.
-
Provolone cheese – melts smoothly and doesn’t overpower the fillings.
-
Italian seasoning – a quick herby boost that ties the flavors together.
-
Roma tomatoes, chopped – juicy freshness to cut through the richness.
-
Red onion, chopped – crisp bite and a little sharpness.
-
Pepperoncini, sliced and drained – tangy zip that makes everything pop.
-
Butter – for that golden, toasty slider top.
-
Dijon mustard – adds a gentle tang to the butter glaze.
-
Garlic powder – a cozy, savory nudge without raw garlic bite.
-
Parmesan, grated – salty finish that crisps on top in the oven.
-
Shredded lettuce – cool crunch; add after baking so it stays crisp.

How To Make Italian Sub Sliders
- Preheat your oven to 350°F and line a baking sheet with parchment paper (because nobody likes stuck-on cheese cleanup).
- Grab a bread knife and slice the rolls in half horizontally while keeping them connected — this makes assembly a breeze. Place the bottom half on your prepared baking sheet.

- Start layering: first the ham, then the salami, and finish with pepperoni for that classic Italian sub flavor. Add a layer of provolone cheese, then sprinkle on a bit of Italian seasoning to bring it all together. Top with the chopped tomatoes, red onions, and pepperoncini peppers. Place the top buns back on. (You can add the shredded lettuce too if you want it warmed. I add it in after sliders have baked in the oven so it stays crisp.)

- In a small microwave-safe bowl, combine the butter, dijon mustard, garlic powder, and Italian seasoning. Microwave for about 10 seconds, just until melted, and stir it all together.
- Brush that buttery mixture evenly over the tops of the rolls and sprinkle a little parmesan cheese over for good measure.

- Tent with foil and bake for 15–20 minutes, until the cheese is melted and everything smells amazing. Remove the foil and bake for another 5 minutes if you want those tops perfectly toasted.
- Take the sliders out, lift off the top buns, and add the shredded lettuce (if you saved it for now) for that cool crunch. Pop the tops back on and serve warm.

Storage & Reheating
Pop any leftovers into an airtight container and refrigerate for up to 3 days. When you’re ready for round two, just reheat in the microwave in 1-minute bursts until everything’s warmed through and melty again. (They actually reheat surprisingly well — even the lettuce if you don’t mind it a little soft!)

Substitutions & Variations
You’ve got so much wiggle room with these sliders — make them your own depending on what’s in the fridge or what your crowd loves most:
-
Rolls – Regular yeast dinner rolls or brioche slider buns work perfectly. You can even switch it up with different Hawaiian roll flavors like Savory Butter for a little twist.
-
Veggie mix – Toss the tomatoes, onions, pepperoncini, and lettuce in Italian dressing (or your favorite vinaigrette) for extra flavor and moisture.
-
Meats – Swap the ham for sliced turkey or chicken if that’s what you’ve got.
-
Salami & pepperoni – Use both, just one, or change the ratio depending on how spicy or mild you want it.
-
Cheese – Mozzarella, white cheddar, Monterey Jack, Colby Jack, or even pepperjack all melt beautifully.
-
Bacon – Add chopped cooked bacon for a smoky, salty kick (because bacon makes everything better).
-
Peppers – Fresh or roasted bell peppers fit right in for extra color and crunch.

Serving Ideas
These Italian sub sliders are pure gold when it comes to feeding a crowd — no stress, no fuss, just a tray of warm, cheesy, pull-apart goodness.
They’re perfect for game days, holiday gatherings, or any time you’ve got friends hanging around the kitchen. Set them out on a big platter with napkins, and watch them disappear in seconds.
You can round out the spread with potato chips, pickles, or a simple green salad if you want to keep it easy. Or go full Italian-deli-style and serve them alongside antipasto skewers, mozzarella sticks, or a batch of garlic butter fries.
And if you’re entertaining, these sliders are ideal for prepping ahead — assemble them earlier in the day, then pop them in the oven right before guests arrive. You’ll look effortlessly put-together (even if your kitchen says otherwise).

Italian Sub Sliders
Ingredients
- 12 King’s Hawaiian dinner rolls
- ½ lb deli sliced ham
- ½ lb sliced salami
- ¼ lb sliced pepperoni
- 12 slices provolone cheese
- ¼ teaspoon Italian seasoning
- 2 roma tomatoes chopped
- ½ red onion chopped
- ½ cup sliced pepperoncini peppers drained
- 3 tablespoons butter
- 2 tablespoons dijon mustard
- ¼ teaspoon garlic powder
- ¼ teaspoon Italian seasoning
- 1 teaspoon grated parmesan cheese
- 1 ½ cups shredded lettuce
Instructions
- Preheat your oven to 350°F and line a baking sheet with parchment paper (because nobody likes stuck-on cheese cleanup).
- Grab a bread knife and slice the rolls in half horizontally while keeping them connected — this makes assembly a breeze. Place the bottom half on your prepared baking sheet.
- Start layering: first the ham, then the salami, and finish with pepperoni for that classic Italian sub flavor. Add a layer of provolone cheese, then sprinkle on a bit of Italian seasoning to bring it all together. Top with the chopped tomatoes, red onions, and pepperoncini peppers. Place the top buns back on. (You can add the shredded lettuce too if you want it warmed. I add it in after sliders have baked in the oven so it stays crisp.)
- In a small microwave-safe bowl, combine the butter, dijon mustard, garlic powder, and Italian seasoning. Microwave for about 10 seconds, just until melted, and stir it all together.
- Brush that buttery mixture evenly over the tops of the rolls and sprinkle a little parmesan cheese over for good measure.
- Tent with foil and bake for 15–20 minutes, until the cheese is melted and everything smells amazing. Remove the foil and bake for another 5 minutes if you want those tops perfectly toasted.
- Take the sliders out, lift off the top buns, and add the shredded lettuce (if you saved it for now) for that cool crunch. Pop the tops back on and serve warm.
If you love an easy bite for game day, or just super easy family dinners, these sliders are definitely worth a try! Make them your own with added extras if you like, and let me know how they turn out. You can leave a comment below, and you can also tag me on Instagram @slimmingviolet. It really makes my day whenever I see that someone has created one of my recipes in their own kitchen!