
No Bake Peppermint Oreo Cheesecake
One thing about me — when it comes to Christmas, I want to make sure that I have a couple of showstopper centerpieces that everyone will be talking about at the dinner table! You might have already seen that I’m fully in the swing of sharing this year’s festive treats, like my Christmas tree cupcakes, cake batter sprinkle cookies, Christmas morning muffins, and jello shot Christmas tree, and today we’re continuing the trend with this no bake peppermint Oreo cheesecake.
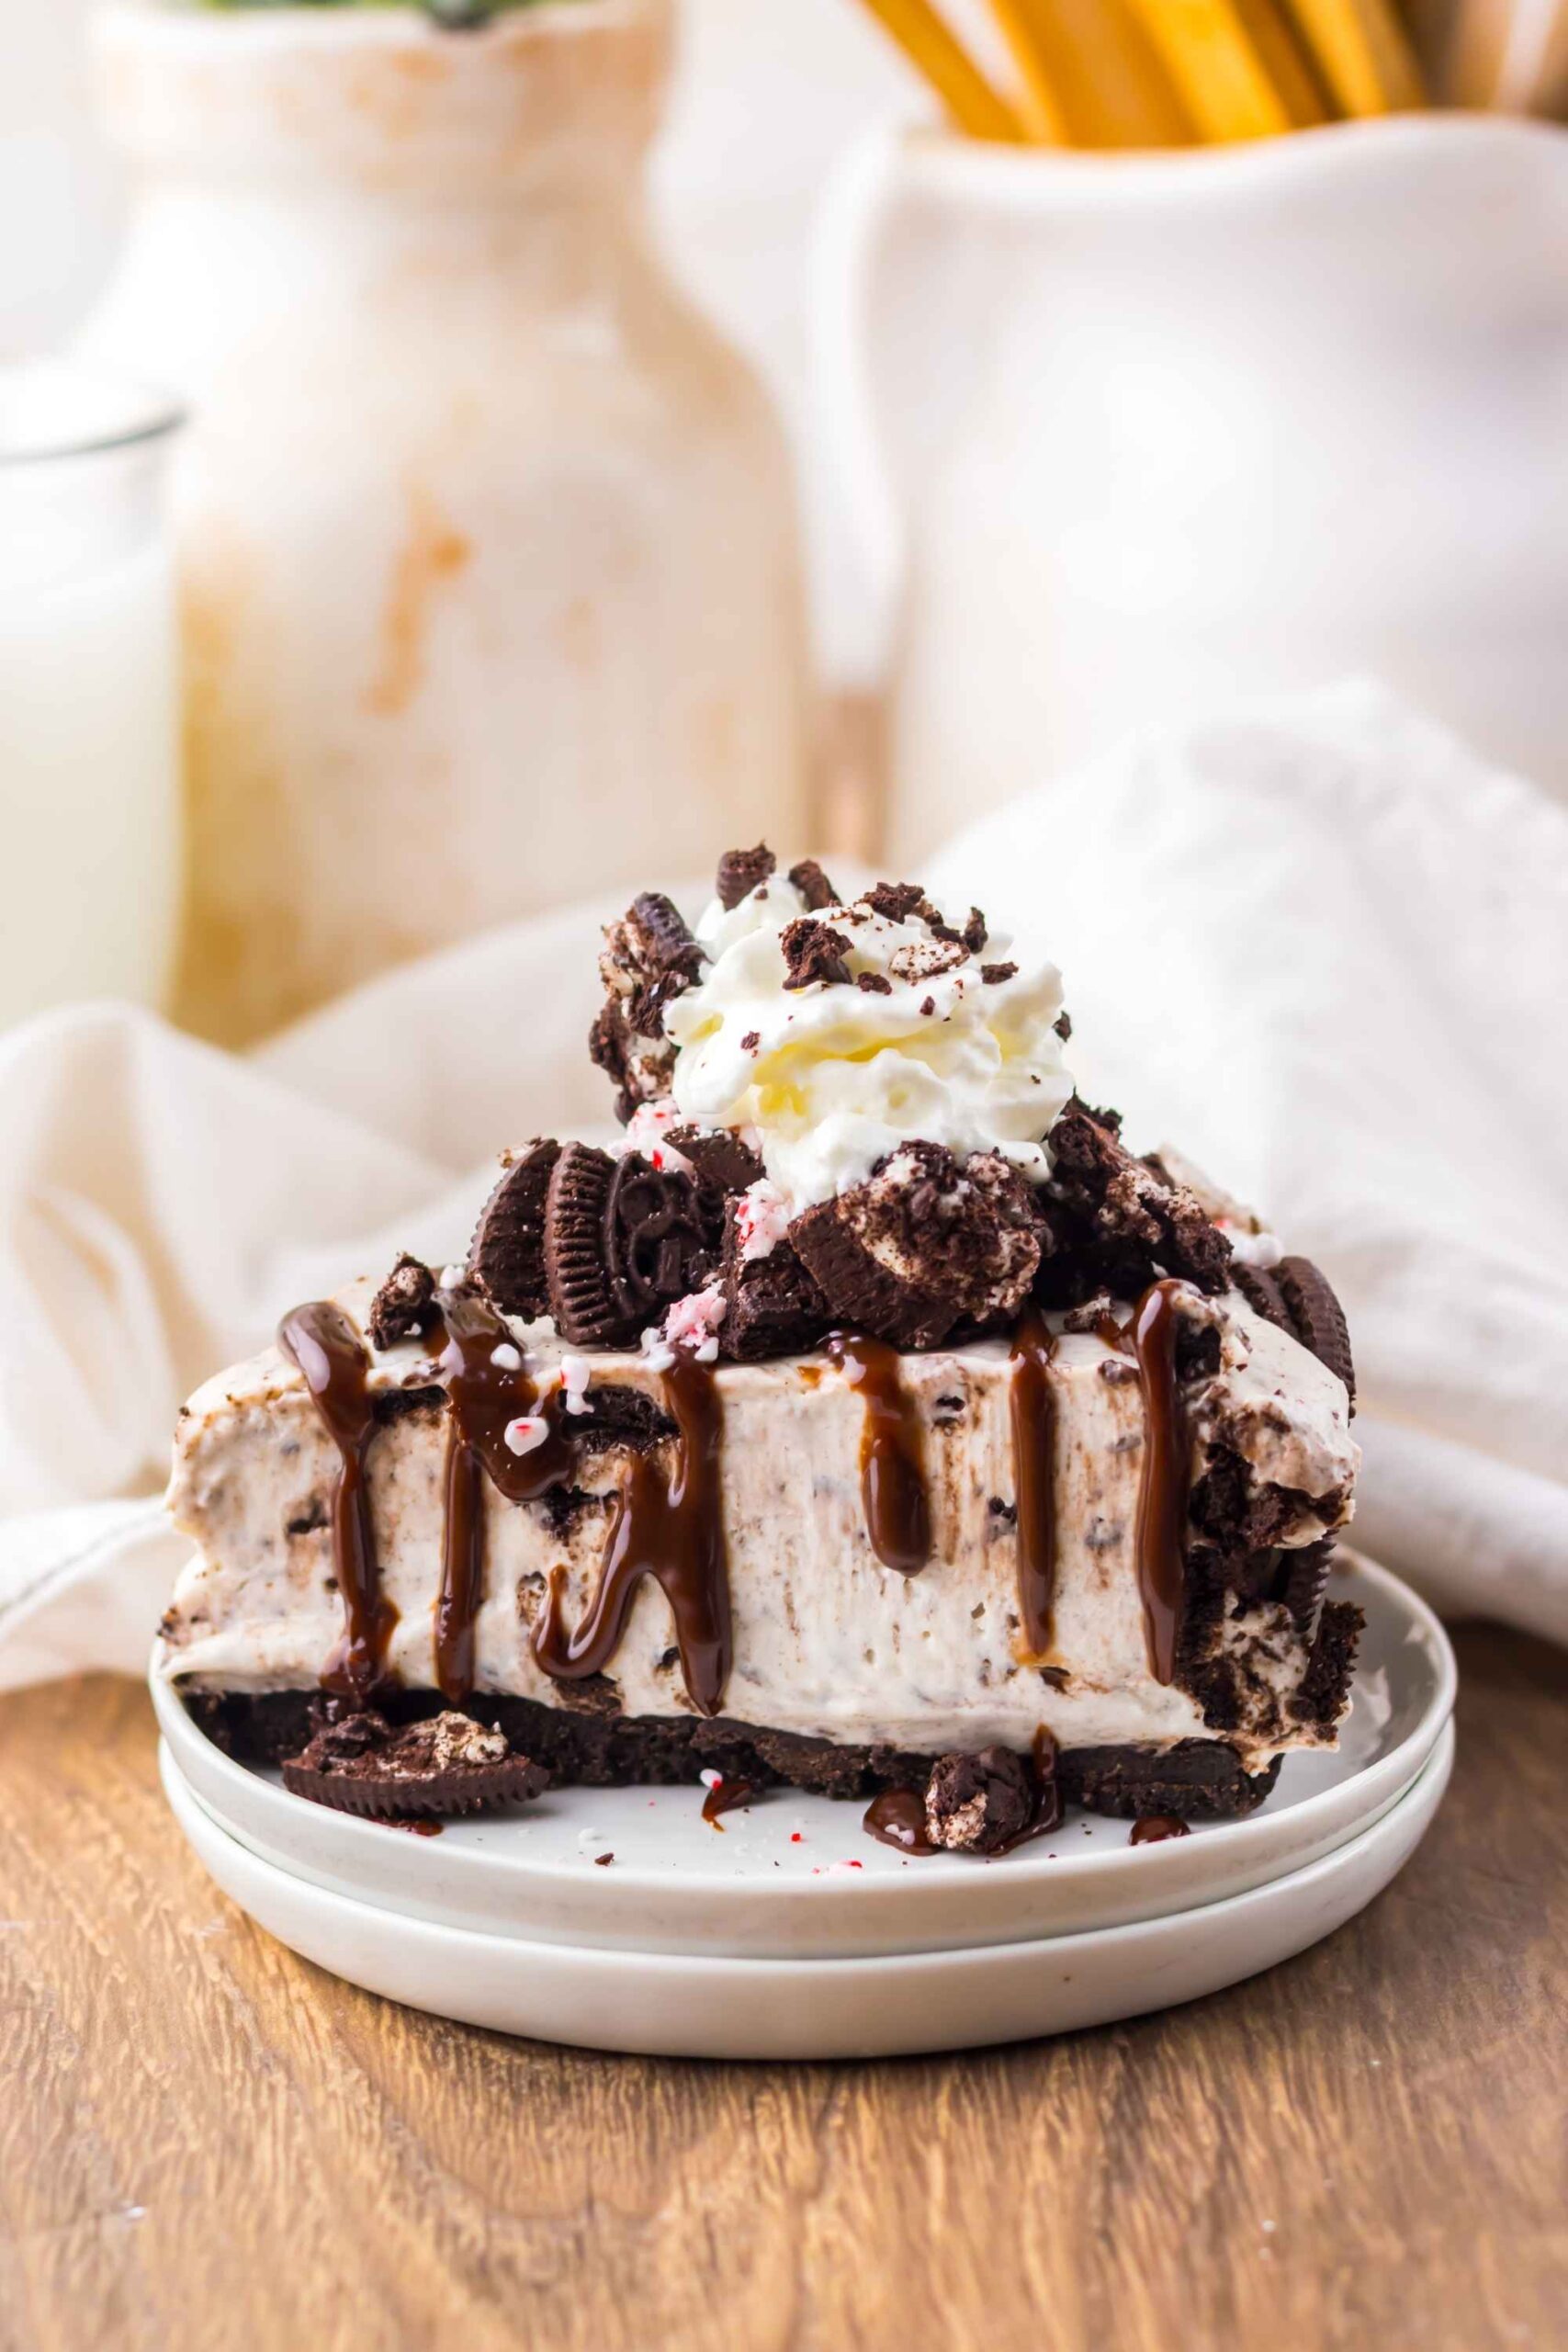
It starts with a classic Oreo crumb crust, lined with whole cookies for a little extra flair. The filling is light and fluffy, made with cream cheese, crushed Oreos, and just the right touch of peppermint for that cool, festive flavor. A drizzle of hot fudge plus a snowfall of crushed cookies and candy canes takes it completely over the top. This one’s worthy of your Christmas day dessert table this year, and best of all, it’s pretty easy to prep!
My favorite thing about it is that it’s no bake, so it doesn’t take up any oven space when you’re likely to be prepping a host of other dishes. Let’s make it together!
Ingredients
Please note that there’s a printable recipe card waiting for you at the bottom of this post! Feel free to print it off at home and keep it safe for when you come to make your cheesecake. Don’t skip the next few sections though!
Crust
-
Oreo cookie crumbs – Classic Oreos are best here, but you can swap in peppermint Oreos if you want to double down on the flavor. Crush them finely so the crust holds together well.
-
Butter – Melted butter binds the crumbs into that classic, sturdy no-bake crust.
-
Extra cookies for the sides – Lining the pan with whole Oreos gives this cheesecake that dramatic “wow” factor when you slice into it.
Cheesecake Filling
-
Cream cheese – Make sure it’s fully softened to room temp so the filling whips up smooth and creamy.
-
Sugar – Just enough to sweeten the cheesecake without overpowering the peppermint.
-
Chopped Oreos – Adds texture and that cookies-and-cream flavor in every bite.
-
Peppermint extract – A little goes a long way for that festive minty kick.
-
Heavy cream – Whipped right into the filling, it makes the texture fluffy and light.
Topping
-
Hot fudge – Warm it slightly so it drizzles nicely over the chilled cheesecake.
-
Crushed Oreos & peppermints – The perfect finishing touch for crunch and holiday flair.
-
Whipped cream – Optional, but it makes each slice look like it came straight from a bakery window.

How To Make No Bake Peppermint Oreo Cheesecake
-
Melt the butter and stir it into the Oreo crumbs until everything’s evenly coated.
-
Press the mixture into the bottom of an 8-inch springform pan, packing it down firmly with the back of a spoon (I like using a metal measuring spoon for clean edges). Take the crumbs slightly up the sides for a sturdy crust.
-
Line the inside edge of the pan with whole Oreos standing upright to create a dramatic cookie border. Set aside while you prep the filling.

-
In a large mixing bowl, beat the cream cheese, sugar, crushed Oreos, and peppermint extract with an electric mixer until smooth and well combined.

-
Pour in the heavy cream and whip until the mixture is fluffy and light.
-
Transfer the filling to your crust, smoothing out the top. Cover and refrigerate for at least 6 hours, or freeze for 4 hours until set.

-
Just before serving, drizzle with warm hot fudge, then sprinkle generously with crushed peppermints and extra cookie crumbs.
-
Slice and serve with a dollop of whipped cream and maybe even a full Oreo on top for good measure.

Recipe Notes & Tips
-
A springform pan is your best friend here — it makes slicing and serving a breeze while giving the cheesecake that professional, bakery-style look.
-
Be patient with the chill time. Six hours in the fridge (or four in the freezer) ensures you’ll get neat, firm slices instead of a soft, slouchy mess.
-
When making the crust, really press those crumbs down with the back of a metal spoon or a flat-bottomed measuring cup. The tighter you pack it, the sturdier it will be.
-
Whip the cream cheese until smooth before adding the heavy cream. It keeps the filling light and prevents any lumps.
-
Wait to add your toppings until just before serving — the cookies and peppermints will stay crunchy, and the hot fudge will look glossy and fresh.

Substitutes
-
Oreos – Swap in mint Oreos for an extra peppermint punch, or use Golden Oreos if you want a lighter, vanilla-y twist.
-
Peppermint extract – Mint extract works in a pinch, or you can melt crushed candy canes right into the filling.
-
Hot fudge – No fudge? No problem. A quick chocolate ganache or even melted chocolate chips with a splash of cream will do the trick.
-
Whipped cream – Store-bought is totally fine here, or make your own with heavy cream and powdered sugar if you want it extra fluffy.
-
Crust – Out of Oreos? A chocolate graham cracker crust works just as well.
Serving Ideas
This cheesecake makes such a good centerpiece of your holiday dessert table! Serve it at Christmas dinner alongside classics like pies and cookies for a cool, creamy contrast.
It’s also perfect for cookie swaps or holiday potlucks since it looks impressive but doesn’t require baking — just slice, serve, and watch it disappear. If you’re hosting a Christmas party, cut it into smaller slices and pair it with cocktails or hot cocoa for a sweet, festive finish.
And it’s just as good the next day straight from the fridge with a fork when you’re sneaking a little holiday treat for yourself.


No Bake Peppermint Oreo Cheesecake
Ingredients
Crust
- 1½ cups oreo cookie crumbs
- 1/3 cup butter melted
- More cookies for the sides
Cheesecake
- 4 blocks cream cheese softened to room temperature (8oz blocks)
- 4 tablespoons sugar
- 1 cup chopped oreos
- 1 teaspoon peppermint extract
- 2 cups heavy cream
Topping
- Hot fudge for drizzling
- Crushed oreos
- Crushed peppermints
- Whipped cream
Instructions
- Melt the butter and stir it into the Oreo crumbs until everything’s evenly coated.
- Press the mixture into the bottom of an 8-inch springform pan, packing it down firmly with the back of a spoon (I like using a metal measuring spoon for clean edges). Take the crumbs slightly up the sides for a sturdy crust.
- Line the inside edge of the pan with whole Oreos standing upright to create a dramatic cookie border. Set aside while you prep the filling.
- In a large mixing bowl, beat the cream cheese, sugar, crushed Oreos, and peppermint extract with an electric mixer until smooth and well combined.
- Pour in the heavy cream and whip until the mixture is fluffy and light.
- Transfer the filling to your crust, smoothing out the top. Cover and refrigerate for at least 6 hours, or freeze for 4 hours until set.
- Just before serving, drizzle with warm hot fudge, then sprinkle generously with crushed peppermints and extra cookie crumbs.
- Slice and serve with a dollop of whipped cream and maybe even a full Oreo on top for good measure.
I think you’ll agree that this cheesecake is a real showstopper, and it would be right at home on your holiday table this year! Just one thing before you go – if you make it, I’d really love to see a pic. You can tag me on Instagram @slimmingviolet, and you can also leave a star rating in the comments section below. It means the world to me to know you’ve tried one of my recipes at home, and your feedback helps me to create more treats that you’ll love!